Maximizing Your Editing Workflow with Lightroom & Luminar AI
If you’re looking to enhance your photo editing process, combining Lightroom with Luminar AI can bring significant improvements to your workflow. In this guide, I’ll walk you through how I use these two tools together to get the best results from my images. By understanding how each program fits into your editing process, you can create stunning images more efficiently.
Why I Use Both Lightroom and Luminar AI
As someone who relies on both Lightroom and Luminar AI for photo editing, I can confidently say that each plays a vital role in my workflow. Lightroom is where I start my edits—organizing my images and making essential adjustments. However, for advanced retouching and creative enhancements, Luminar AI becomes the game-changer.
I use Lightroom as my main catalog for importing, sorting, and tagging my photos. It’s also where I handle basic edits, such as exposure corrections, contrast, and white balance. Once I’ve sorted through the images and made preliminary adjustments, I switch to Luminar AI for more detailed and artistic edits, including skin retouching, object removal, and special effects.
Step-by-Step Workflow: Lightroom & Luminar AI Integration
Step 1: Basic Edits in Lightroom
Lightroom is my go-to for culling images, making global adjustments, and setting the foundation for the final edits. I start by correcting the white balance, adjusting exposure, and fine-tuning contrast. These basic adjustments help bring your image to a “preview quality” level, allowing you to evaluate your shot more effectively and prepare it for more detailed edits later.
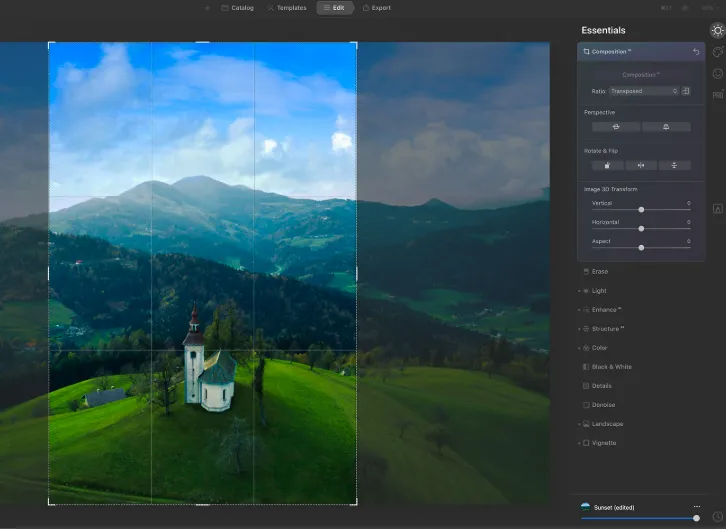
Step 2: Advanced Editing in Luminar AI
Once I’ve narrowed down the best images, I head to Luminar AI for the final touches. This is where I focus on things like:
- Facial and skin retouching
- Removing distractions from the background
- Special effects like toning, black and white conversions, sky replacement, or adding glow effects
While Lightroom handles basic edits well, Luminar AI offers faster, more specialized tools for detailed portrait work and creative transformations.
Two Ways to Use Luminar AI as a Plugin with Lightroom
There are two methods I regularly use to integrate Luminar AI into my Lightroom workflow. Depending on the situation, one may be better suited to your needs than the other.
Method #1: Open Directly in Luminar AI
This method is straightforward and efficient. Right-click on the image you want to edit in Lightroom, select “Edit in > Luminar AI,” and the image will open directly in Luminar. You can make your adjustments, save, and return to Lightroom with the edited image. This method is ideal for quick edits that don’t require ongoing adjustments. However, once you make changes in Luminar AI, they are permanent and cannot be tweaked later.
Method #2: Use Photoshop as an Intermediary
For more complex edits, I prefer this method, which introduces an extra step by involving Photoshop. Start by right-clicking the image in Lightroom, and choose “Edit in > Open as Smart Object in Photoshop.” From there, you can do more advanced editing in Photoshop before applying Luminar AI as a filter. This method offers the benefit of keeping your edits fully editable, as you can return to Luminar AI and adjust them later if needed.
The trade-off is that this method takes longer and requires more system resources, as you’re working with three programs instead of two.
When to Use Each Method
- Method #1 is perfect for quick edits, such as adding effects or making minor adjustments that you won’t need to revisit.
- Method #2 is better when you need more control and anticipate needing to refine your edits, such as with complex retouching, cloning, or blending multiple images.
Conclusion: Using Lightroom & Luminar AI Together
By combining Lightroom for your basic edits and Luminar AI for advanced enhancements, you can create a streamlined, efficient workflow. Each tool plays to its strengths, helping you get the most out of your images. Whether you’re refining a portrait or adding creative effects, using both programs together will allow you to take your photo editing to the next level.
Looking ahead, once Luminar Neo is released, I plan to incorporate it into my workflow as a replacement for Luminar AI, but the fundamental principles of using these tools together will remain the same.
With this workflow in mind, you’re equipped to tackle your editing process with confidence and creativity!