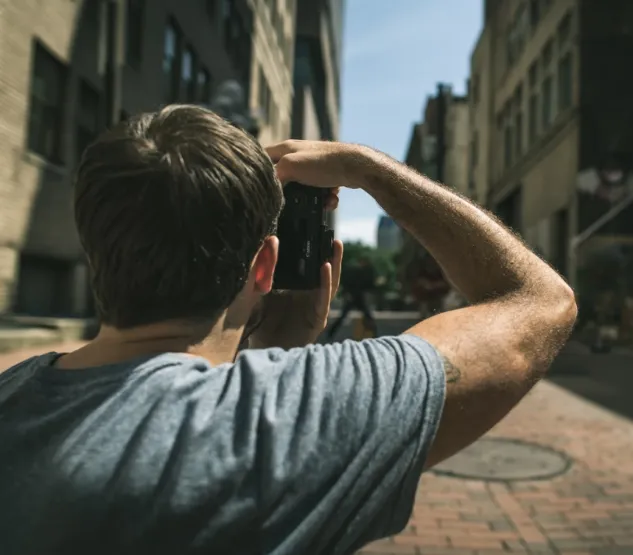
Debunking Photography Myths: What You Really Need to Know
Photography is full of myths and misconceptions that can cloud your understanding and even hold you back from achieving your best shots. While some of these myths have been around for decades, it’s important to separate fact from fiction. In this post, we’ll tackle some common photography myths and set the record straight so you can improve your skills and knowledge.
1. The “f/8 Rule” for Sharp Images
You may have heard that shooting at f/8 is the key to achieving the sharpest images, but is this really true? While every lens has a “sweet spot” where it performs optimally, f/8 isn’t always the magic number.
For instance, with a 100mm f/2 lens, the sharpest aperture is usually around f/5.6 to f/8—2 to 3 stops down from the widest aperture. But the rule doesn’t apply universally. In dim lighting, you may need a larger aperture to allow more light into the camera, resulting in a faster shutter speed and lower ISO.
Similarly, for specific genres like macro or landscape photography, you might need an even smaller aperture, such as f/11 or f/16, to achieve the depth of field you need. In portrait photography, wide apertures like f/2.8 or f/4 are often preferred for blurring the background and highlighting the subject.
The bottom line: Choose the aperture that fits your lighting conditions and the creative effect you want to achieve, not just f/8 because it’s considered a “sweet spot.”
2. Covering the Viewfinder to Avoid Light Leaks
There’s a myth suggesting that covering your camera’s viewfinder during long exposures is essential to avoid light leaks, which could ruin your image. However, this isn’t something you need to worry about unless your camera is damaged or specifically prone to light leaks.
Many modern cameras don’t require a viewfinder cover, and I’ve shot numerous long exposures—especially night photography—without ever encountering issues. If you’re concerned about light leaks, you can perform a simple test: set up a long exposure shot at night, shine a flashlight directly into the viewfinder, and check for any unwanted light leaks. If there’s no issue, there’s no need to worry about covering the viewfinder.
In most cases, the concern about light leaks is overblown.
3. Always Use TIF Files, Never JPGs
A common misconception is that TIF files should always be preferred over JPGs due to superior image quality. While TIF files do offer more flexibility (being 16-bit compared to the 8-bit JPG), it’s important to understand when each format is appropriate.
TIF files are best used for high-quality editing or when you need to preserve layers, but they aren’t always necessary for everyday use. For instance, JPGs are ideal for web sharing, email, and printing due to their smaller file size and universal compatibility. The myth that repeatedly saving a JPG will degrade its quality is mostly unfounded. You’d have to open and save a JPG thousands of times before it becomes noticeably degraded.
For final images intended for online use or printing, JPGs are usually the most practical choice. TIFs should be reserved for cases where image quality is critical and when you’re working with raw files that require heavy editing.
4. Save Images at 300 DPI for the Web
A common misunderstanding is that saving images at 300 DPI is essential when preparing images for online sharing. However, DPI (dots per inch) is relevant only for print, not for digital displays. Websites, email, and social media platforms display images based on their pixel dimensions, not their DPI.
For example, saving an image at 300 DPI will not improve its quality when displayed on a screen. What matters is the image’s pixel size. If you have an image that’s 2000×3000 pixels, it will be the same size whether it’s saved at 300 DPI or 72 DPI. The only difference is how it will print.
For online use, focus on the pixel dimensions and not the DPI. Keep DPI settings to 72 for web images, and if you’re sending files to print, adjust the DPI according to the printer’s specifications.
5. Only Shoot When the Light is Perfect
The idea that you should only take photos when the light is ideal is a myth that restricts creative potential. “Good light” is subjective—it’s all about how you use the light available to you. Harsh light can be just as effective as soft light, depending on the mood you want to convey.
Don’t limit yourself by waiting for the “perfect” light. Weather conditions like storms, fog, or snow can create dramatic, powerful images that wouldn’t be possible on a clear day. Being willing to shoot in less-than-ideal conditions often leads to striking, memorable photos. The professionals often take advantage of harsh lighting or tricky conditions, so don’t shy away from opportunities just because the light isn’t “perfect.”
6. UV Filters Are a Waste of Money
There’s a long-standing debate about whether UV filters are necessary. While some photographers argue that they degrade image quality, I am firmly in the camp that recommends using them. A quality UV filter can protect the front of your lens from dust, fingerprints, and even impacts. In the event of a drop, the filter will absorb the shock and break, saving your expensive lens.
The key is to invest in a good quality filter. Cheaper filters may cause issues like reflections or vignetting, but a well-made filter won’t affect your image quality. The protection it offers far outweighs the minor inconveniences. When using wide-angle lenses, a slim mount filter can help minimize vignetting.
7. Natural Light is Always Better Than Flash
Many photographers believe that natural light is superior to flash, but this myth ignores the fact that each has its own advantages. Flash can provide control and creativity that natural light simply can’t match, especially in low-light situations or when you need to illuminate a subject without altering the background.
Flash also allows you to manipulate shadows and light direction, giving you more control over the final image. In fact, flash can be used to enhance natural light, balancing harsh sunlight or illuminating darker areas of your composition. Don’t be afraid of using flash—it’s a powerful tool in your photography kit.
8. Don’t Turn Off IS/VR on a Tripod
Some camera manufacturers suggest you don’t need to turn off image stabilization (IS or VR) when using a tripod, but I recommend you do. IS works by compensating for camera shake, but on a tripod, it may actually introduce slight vibrations, leading to less sharp images.
To avoid this, always turn off IS or VR when using a tripod. It’s a small but important adjustment that can make a noticeable difference in your results.
Conclusion
Photography is full of myths and misconceptions, but knowing how to navigate them can help you become a more informed and effective photographer. Rather than following rules without question, experiment with different techniques, and make conscious choices based on the situation at hand. By debunking these myths, you’ll have the freedom to explore new creative avenues and enhance your photography skills.