Bounce flash is a fantastic technique that can drastically improve your photography by making your flash lighting softer and more flattering. If you’re tired of harsh shadows and flat images, learning how to bounce your flash properly is a game-changer. In this article, I’ll walk you through how to use bounce flash to enhance your photos.
What is Bounce Flash and Why Should You Use It?
Bounce flash is exactly what it sounds like. Instead of pointing your flash directly at the subject, you aim it at another surface, such as a wall or ceiling, and let the light bounce back onto your subject. This technique increases the size of the light source, which results in softer lighting with less harsh contrast.
Direct flash produces small, hard light, creating sharp shadows and a flat look on your subject. Bounce flash, on the other hand, creates a larger light source, softening the shadows and adding more dimension to your photos. It’s an easy way to improve your lighting without investing in expensive modifiers like softboxes or umbrellas.
What Do You Need for Bounce Flash?
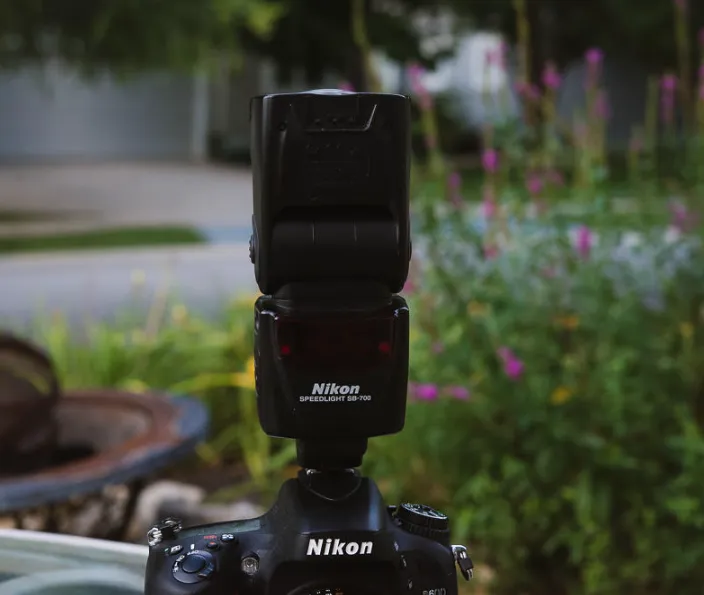
To use bounce flash effectively, you need a speedlight that can tilt and rotate. A basic pop-up flash on your camera won’t work for this technique, so make sure your flash can rotate at least 180 degrees or more.
If you don’t already have a speedlight, there are plenty of affordable options available from third-party brands like Godox and Yongnuo. For example, the Godox TT350 is a great budget-friendly option at around $85, and it performs excellently for bounce flash photography.
Bounce Flash Techniques
Now, let’s dive into the different ways you can use bounce flash to enhance your images.
1. Direct Flash
The simplest way to use your flash is to point it directly at the subject. However, this often results in harsh lighting, especially in portraits. You’ll notice shadows that create a flat and unflattering look on your subject’s face.
Example: A flash aimed directly at the subject often creates a large shadow under the chin and produces even, but unflattering, lighting on the face. This is what you want to avoid if you’re looking for more dynamic and natural results.
2. Flash Bounced Off the Ceiling
One of the most common and effective bounce flash techniques is to point the flash straight up at the ceiling. The light bounces off the ceiling and gently falls on your subject, creating a softer look. This method is particularly useful in indoor environments with a white or light-colored ceiling.
Example: The light source becomes much larger, creating a softer transition from light to shadow, which is more flattering for portraits. Shadows under the chin and eyes are less harsh, and the light feels more natural.
3. Flash Bounced Up and Behind the Camera
If you want even more control over the lighting, you can tilt the flash slightly backward to bounce the light off the ceiling behind you. This technique helps to fill in the shadows under the subject’s eyes and create a more balanced look.
Example: You’ll notice that with this setup, the subject’s eyes will have “catchlights” (a reflection of the light source), which adds life and depth to the photo. This is especially important in portrait photography.
4. Flash Bounced to the Side
Another bounce flash option is to direct the light to one side. This is ideal when you have a neutral-colored wall to bounce off. It adds dimension to your subject’s face by creating side lighting, which enhances shadows and contours.
Example: Side lighting from a white or neutral-colored wall creates a more dramatic effect, with light falling on one side of the subject’s face and shadows on the other, adding depth and shape. However, if the surface you’re bouncing off is colored, like a red or green wall, the color may cast onto your subject, affecting the final result.
5. Flash Bounced Into a Corner
If you don’t have any good walls to bounce off, consider bouncing your flash into a corner. This technique helps to diffuse the light and evenly light the subject’s face, especially in small spaces.
Example: The resulting lighting is softer and more even compared to side lighting, making it perfect for group shots or portraits where you want a gentle, flattering light.
6. Shooting Vertically with Bounce Flash
When you switch your camera to a vertical (portrait) orientation, you’ll need to adjust your flash accordingly. A common mistake is to forget that the light needs to bounce off a surface in the correct direction, which can result in unwanted shadows or uneven lighting.
Example: If you’re shooting vertically and notice a shadow on the wall, it may be because your flash wasn’t adjusted to the new orientation. Rotate your flash and re-bounce the light to ensure your subject is evenly lit from all angles.
Conclusion
Bounce flash is an essential technique that can elevate your photography by creating soft, flattering lighting for your subjects. Whether you’re working in a small room or trying to make the most of available light, mastering bounce flash will improve the overall quality of your photos. So, get familiar with how your flash works, experiment with different bounce techniques, and enjoy the results!