Streamline Your Photo Editing Workflow and Save Hours
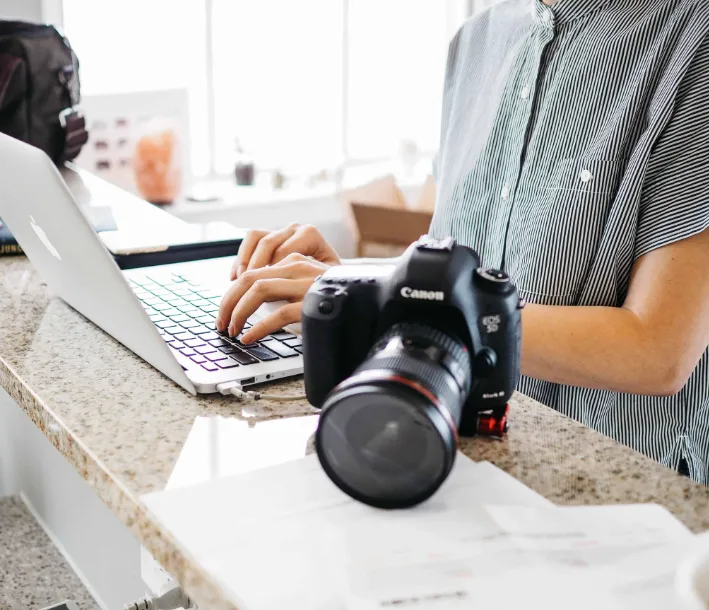
One of the most common challenges photographers face isn’t taking photos—it’s managing and editing them efficiently. If you’ve ever found yourself buried under hundreds of images after a shoot, wondering how to process them all without spending an entire weekend in front of your screen, you’re not alone. In this blog, I’ll walk you through a streamlined approach that helps you sort, preview, and edit your images faster while keeping your final quality intact.
Part 1: Sorting Your Images Quickly and Effectively
The first major step after importing your photos is narrowing them down to the strongest shots. Whether you call it culling or selecting, the goal is to eliminate weak images and highlight the ones worth editing further.
Going through a large collection—say, from a wedding, street shoot, or family session—can be overwhelming. But the trick is to shift your mindset. Rather than focusing on rejecting bad photos, concentrate on “editing in” the ones that stand out immediately. This positive selection process reduces mental fatigue and helps you work more intuitively.
Using shortcut keys in software like Lightroom or Photo Mechanic allows for rapid decisions. Trust your instincts and make quick calls. You’ll be amazed at how much faster you can work when you stop second-guessing every shot.
Part 2: Prepping Images for Preview
Once you’ve isolated your best captures, it’s time to get them ready for review—especially if someone else, like a client or collaborator, will be choosing their favorites. This intermediate stage is all about applying quick adjustments that make your images cohesive and presentable.
Preview-level editing should focus on three key adjustments:
- Exposure balance: Ensure all images are evenly lit and none look too dark or overly bright.
- Color consistency: Maintain a similar white balance across the set to create a unified look.
- Basic contrast: Add enough contrast to make your photos pop, without losing important detail in shadows or highlights.
This phase isn’t about perfection. It’s about creating a clean, polished look that helps others judge your work at a glance. Avoid spending too much time here—save detailed edits for only a select few later.
Part 3: Final Retouching for Your Top Selections
Once previews are done and selections have been finalized, you can shift your focus to full edits. This is where you can invest time in refining details like skin smoothing, blemish removal, object cleanup, and subtle enhancements to light or color.
These finishing touches are best reserved for images that will be used for professional purposes—portfolio shots, client orders, or prints. By limiting detailed retouching to only a handful of images, you not only save hours of work but also ensure higher quality where it truly matters.
Combining tools like Lightroom for global adjustments and Luminar or Photoshop for advanced retouching can give you both speed and precision. The end result is a polished image that reflects your artistic vision without the burnout that comes from over-editing your entire library.
In Conclusion
Learning to manage your editing workflow is just as important as knowing how to use your camera. By breaking the process into three manageable stages—selecting the best shots, preparing them for review, and then applying detailed edits to only a few—you can save countless hours. More importantly, you’ll spend less time behind the screen and more time doing what you love: capturing incredible images.