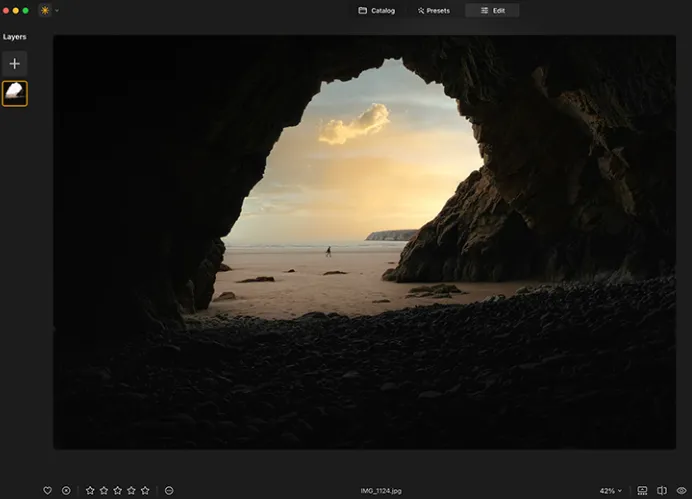
3 Simple Luminar Neo Tools to Revitalize Your Photos
If your photos are looking flat and lack vibrancy, but you don’t have the time or patience for hours of editing, Luminar Neo offers three powerful tools that can quickly breathe new life into your images.
In this guide, I’ll show you how to use three easy techniques to enhance your photos and turn dull images into stunning, eye-catching visuals. These tools are great for boosting contrast, sharpening colors, and giving your photos that extra “pop.”
Tool 1: Smart Contrast Slider
The first tool I recommend for transforming a lackluster image is the Smart Contrast slider. This feature is located in the Develop section of Luminar Neo. It’s incredibly simple to use—just slide it to the right, and it will enhance the contrast in your image.
If you’re working with a raw file, the option will appear as “Develop RAW,” and for JPEGs, it will simply be “Develop.” After moving the Smart Contrast slider to about +50, you’ll notice the difference in your image immediately. The backslash key lets you toggle a quick before-and-after view so you can see how much of an improvement the contrast makes.
This tool works wonders for brightening up your photos and creating more dynamic and engaging compositions without needing complex adjustments.
Tool 2: Color Contrast in the Color Harmony Tool
Next up is the Color Contrast feature in the Color Harmony tool, which is found in the right-hand tool panel under the professional section. This tool adjusts the contrast by modifying color balance, which can make your photo visually striking.
Start by increasing the Amount slider to about +40 to really see the effect. Then, adjust the Hue slider. By shifting it towards different colors (green, red, etc.), you’ll notice how the colors in your image intensify or become darker.
For example, moving the slider towards the green hues will make green areas brighter while darkening the reds and magentas. Experiment with these adjustments to fine-tune your photo’s mood. If the saturation feels too high, you can dial it back using the Brilliance slider.
This tool is perfect for images with complementary colors, like green and red or blue and orange, as it emphasizes these contrasts beautifully.
Tool 3: Duplicate Layers and Adjust Blend Modes
The third tool is a more advanced technique, which involves duplicating your image layer and adjusting the blend mode. Here’s how you can do it:
- Right-click on your current layer and select “Duplicate” or press D on your keyboard.
- Once the layer is duplicated, change its blend mode to Multiply. This darkens the image and adds more contrast. You can also try other blend modes like Overlay or Soft Light to see which gives the best result.
Each blend mode offers different effects:
- Multiply darkens the shadows, enhancing contrast.
- Overlay adds more brightness and contrast, making colors pop.
- Soft Light is a subtler effect for a softer contrast.
These adjustments can give your photos a dramatic, high-impact look. Play around with the opacity of the duplicated layer to control the intensity of the effect.
Bonus: Creating and Using Presets
Once you’ve perfected your adjustments, you can save the settings as a preset to use on other images. This can save you time when editing similar photos. However, keep in mind that you should save your work before you apply the layer duplication and blend mode changes. If you save the preset after duplicating the layer, it will apply the duplicate layer to all subsequent images—something you probably don’t want.
Conclusion
Luminar Neo provides powerful and straightforward tools that allow you to transform your photos with minimal effort. By using the Smart Contrast slider, the Color Contrast tool, and the Layer duplication with blend mode adjustments, you can easily enhance the contrast, color, and mood of your photos, making them stand out and catch the viewer’s eye.
These tools are ideal for photographers who want quick results without delving into complex editing techniques. With just a few adjustments, your images can go from flat to fantastic!


